
שנת הלימודים החדשה התחילה וחזרנו לשגרה.
אנחנו לצערנו נפרדות מחברת צוות נוספת.
אולה פורשת מהצוות בשל חוסר זמן.
אולה - תודה שהשתתפת בצוות שלנו, ונשמח לראות אותך משתתפת באתגרים מדי פעם.


נחתים את הדמות על הקארדסטוק הלבן, ונחתוך בצורת אליפסה. (במקרה שלי ציירתי וגזרתי, לא השתמשתי בחותכנים)

כדי ליצור לה Matting ניקח את הנייר הורוד:

נהפוך אותו כשהצד הלבן שלו כלפי מעלה:

נניח עליו את האליפסה הגזורה של ההחתמה ונצייר סביבה בעפרון תוך כדי השארת מספיק שוליים מקצות הדף.

בזהירות נגדיל מעט את האליפסה, ונגזור אותה.

נלכלך מעט את שולי האליפסות בעזרת הדיו

נחתוך את שני הניירות המדוגמים האחרים לגודל הכרטיס ולמלבן מעט קטן יותר (במקה שלי הנייר החום בגודל הכרטיס, והנייר המדוגם מעט קטן יותר).

זה הזמן להתחיל להדביק.
נדביק את החתמה על האליפסה הגדולה יותר.

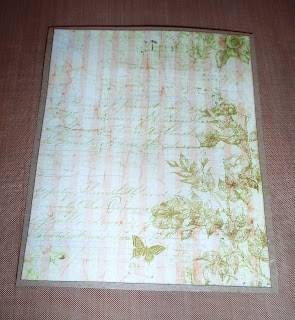
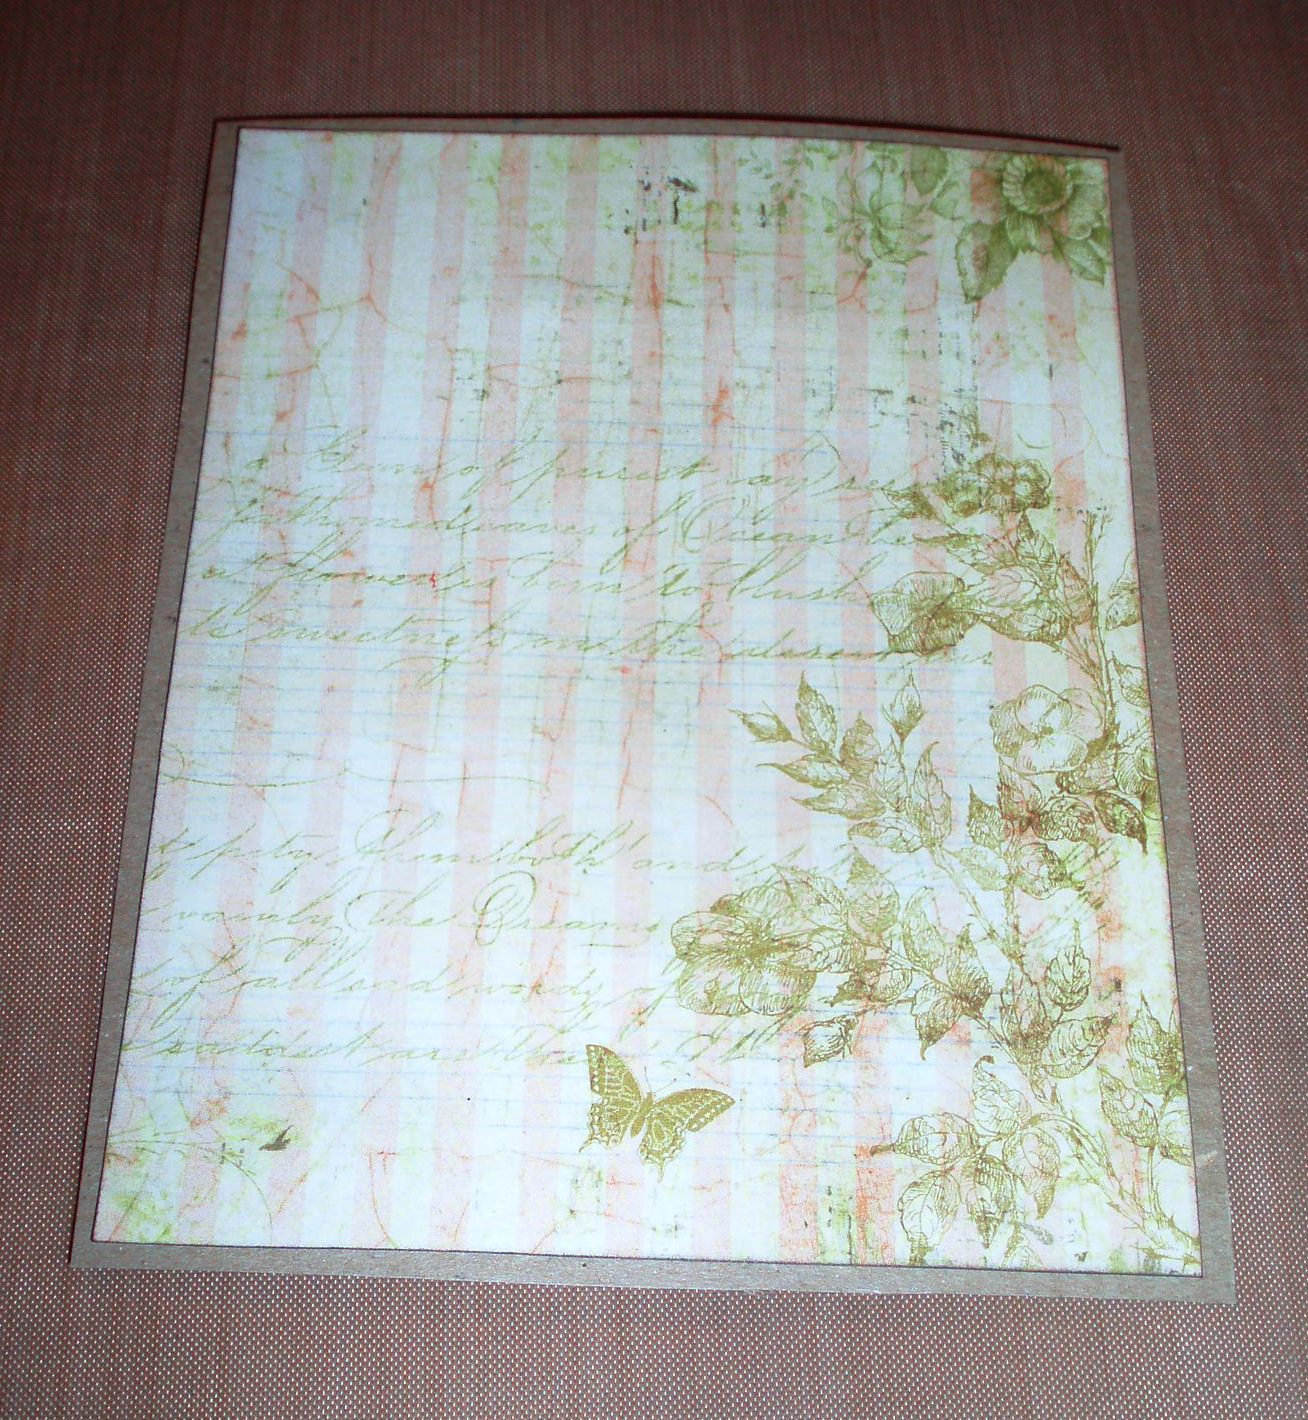
נדביק את המלבן הקטן יותר על המלבן הגדול יותר (במקרה שלי הנייר המדוגם על הנייר החום)

נדביק את האליפסות על הכרטיס

כל מה שנותר זה לקשט. אני בחרתי לקשט בעזרת 3 פרחים קטנים. ניתן להשתמש בפרחים גדולים יותר, כפתורים, פרפרים או ציפורים, כל מה שמתאים לכם לכרטיס.

אנחנו לצערנו נפרדות מחברת צוות נוספת.
אולה פורשת מהצוות בשל חוסר זמן.
אולה - תודה שהשתתפת בצוות שלנו, ונשמח לראות אותך משתתפת באתגרים מדי פעם.
The new school year started and life is back to normal.
Unfortunately we're saying goodbye to yet another team member.
Ola is leaving us due to lack of time.
Ola - thanks for being with us, and we'd love to see you participate in our challenges now and again.
זה אומר ששבוע הבא נתחיל בחיפוש חברות צוות חדשות שיצטרפו אלינו, אז אם אתם מעוניינים - כדאי להיות כאן בשבוע הבא.
That means that next week we'll start looking for new team members to join us, so if you're interested - you'd better be here next week.
השבוע גם עולה שוב סדנה מצולמת לאחת מיצירות חברות הצוות. גללו עד הסוף כדי להגיע אליה.
This week we also have our monthly tutorial for one of the team member's creation. Scroll all the way down to get to it.

המנצחת של סקיצה 81 היא:
The winner for sketch 81 is:

ציקוש - tzikush
מזל טוב, ציקוש. את נכנסת להגרלה על הפרס של הספונסר.
המנצחת בהגרלה הזו יוכרז בשבוע הבא, ביחד עם המנצחת בסקיצה 82.
Congratulations, Tzikush. You've entered the draw for our sponsor's prize.
The winner will be announced next week, along with the winner for sketch 82.
והשלישיה המובילה:
And the Top3:

Shellshearer

כרמית - Carma30

אורית - Orit
כל הכבוד על היצירות היפהפיות שלכן.
Wll done, ladies. These are lovely creations.
הסקיצה החדשה שלנו היא סקיצה 83:
Our new sketch is sketch 83:

האתגר הנילווה לסקיצה הוא אתגר צבעים: חום, ורוד ולבן בלבד.
והנה עבודות הצוות:
The challenge to go with it is a color challeneg: ONLY Brown, Pink & white.
והנה עבודות הצוות:
And here's what the team created:

אמנדה - Amanda

דיילי - Dailly

מאיה - Maya
אורלי - Orli

ריקי - Riki

זהבית - Zehavit
ההדרכה החודשית - Monthly Tutorial
הפעם כתבתי אני (דיילי) את הדרכה.
This time I (Dailly) prepared the tutorial.
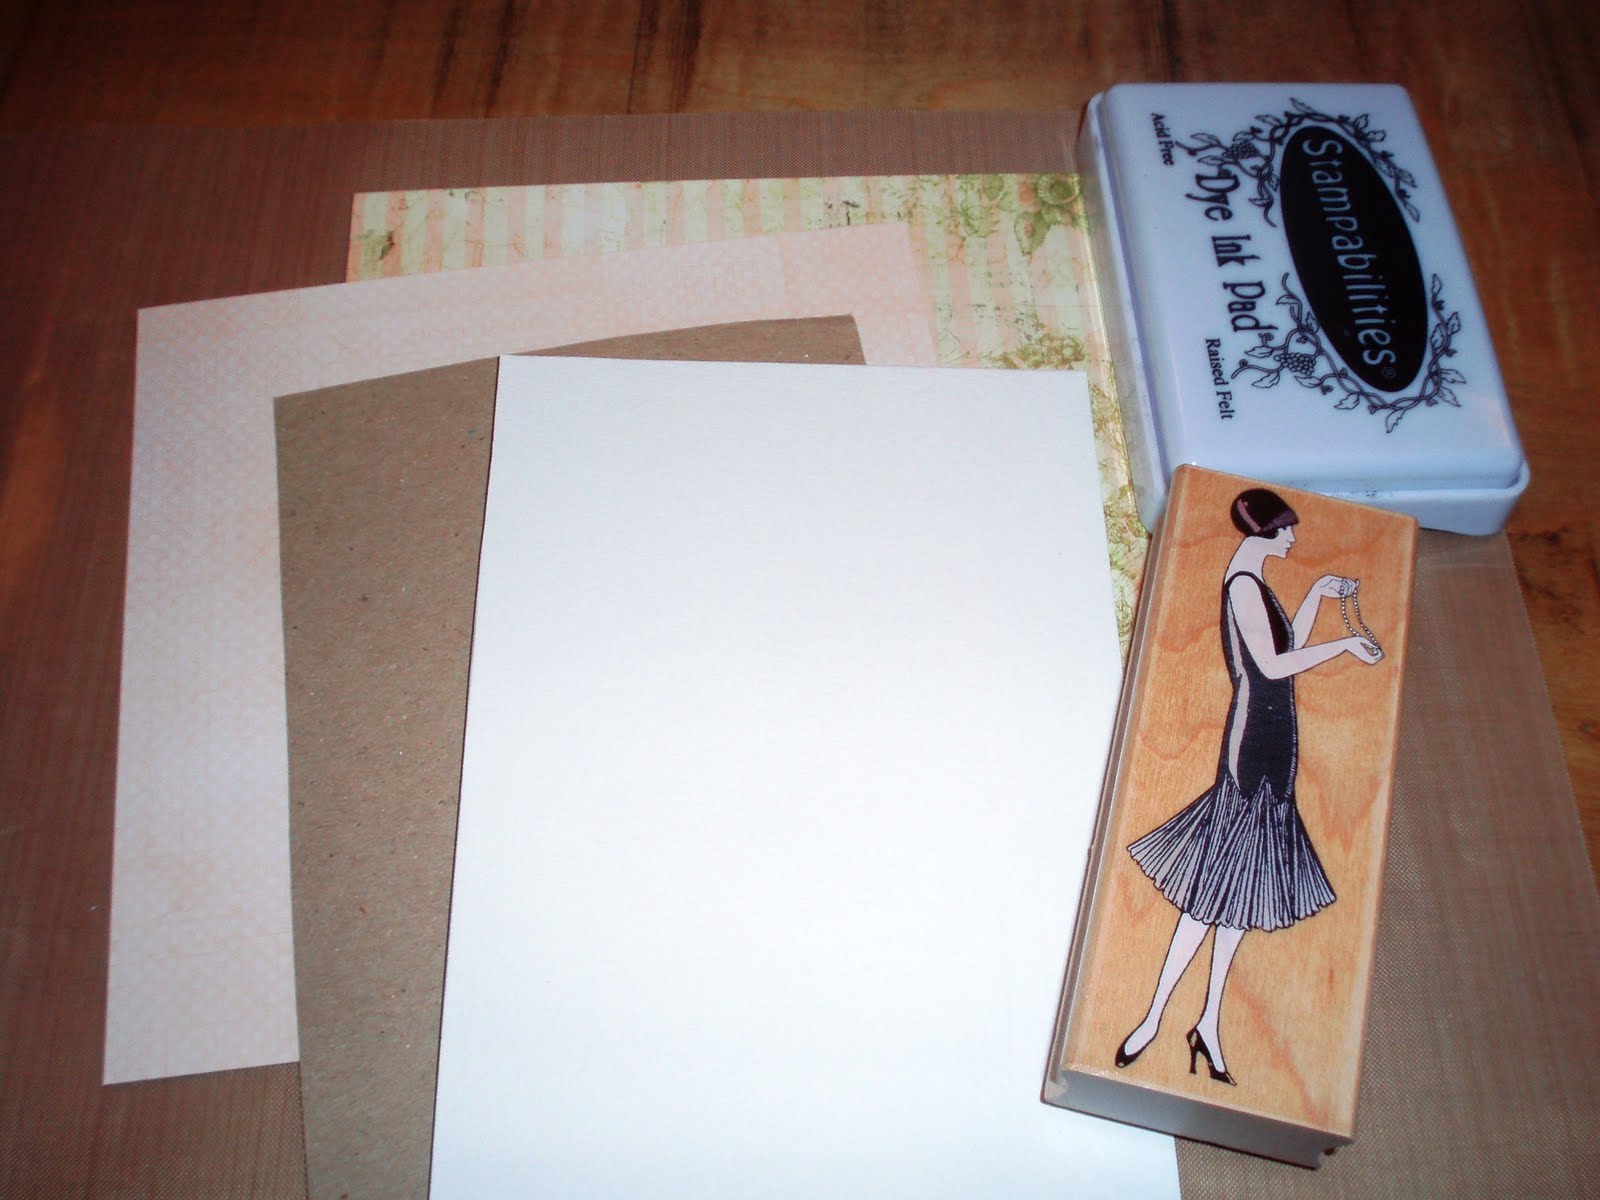
החומרים:
3 ניירות מדוגמים
קארדסטוק לבן להחתמה
חותמת + דיו
קישוטים
דבק
What we'll need:
3 patterend papers
white cardstok for stamping
stamp + ink
embelishments
glue
נחתים את הדמות על הקארדסטוק הלבן, ונחתוך בצורת אליפסה. (במקרה שלי ציירתי וגזרתי, לא השתמשתי בחותכנים)
Stamp the image on the white cardstock and cut it in an oval shape. (In this case I drew the oval and cut it with scissors. I did not use cutting maching or punches).

To create matting for the stamped image, we'll take the pink paper:

נהפוך אותו כשהצד הלבן שלו כלפי מעלה:
Turn it up side down, so that the white side is up:

We'll put the oval stamped image on it and draw around it with a pencil, while keeping enought margins from the edges of the paper.

בזהירות נגדיל מעט את האליפסה, ונגזור אותה.
Carefully we'll draw a little larger oval around the one we marked, and cut it out.

נלכלך מעט את שולי האליפסות בעזרת הדיו
Ink distress the edges of the ovals

נחתוך את שני הניירות המדוגמים האחרים לגודל הכרטיס ולמלבן מעט קטן יותר (במקה שלי הנייר החום בגודל הכרטיס, והנייר המדוגם מעט קטן יותר).
We'll cut the other 2 patterned papers to the size of the card, and a rectangle a little smaller than the card. (I my case, the brown paper is the card size, and the patterened paper a little smaller)

זה הזמן להתחיל להדביק.
נדביק את החתמה על האליפסה הגדולה יותר.
Now we can start glueing.
Glue the stamped oval onto the larger oval.

נדביק את המלבן הקטן יותר על המלבן הגדול יותר (במקרה שלי הנייר המדוגם על הנייר החום)
Glue the smaller rectangle on the larger one (in my case the patterened paper onto the brown one)

נדביק את האליפסות על הכרטיס
Glue the ovals onto the card

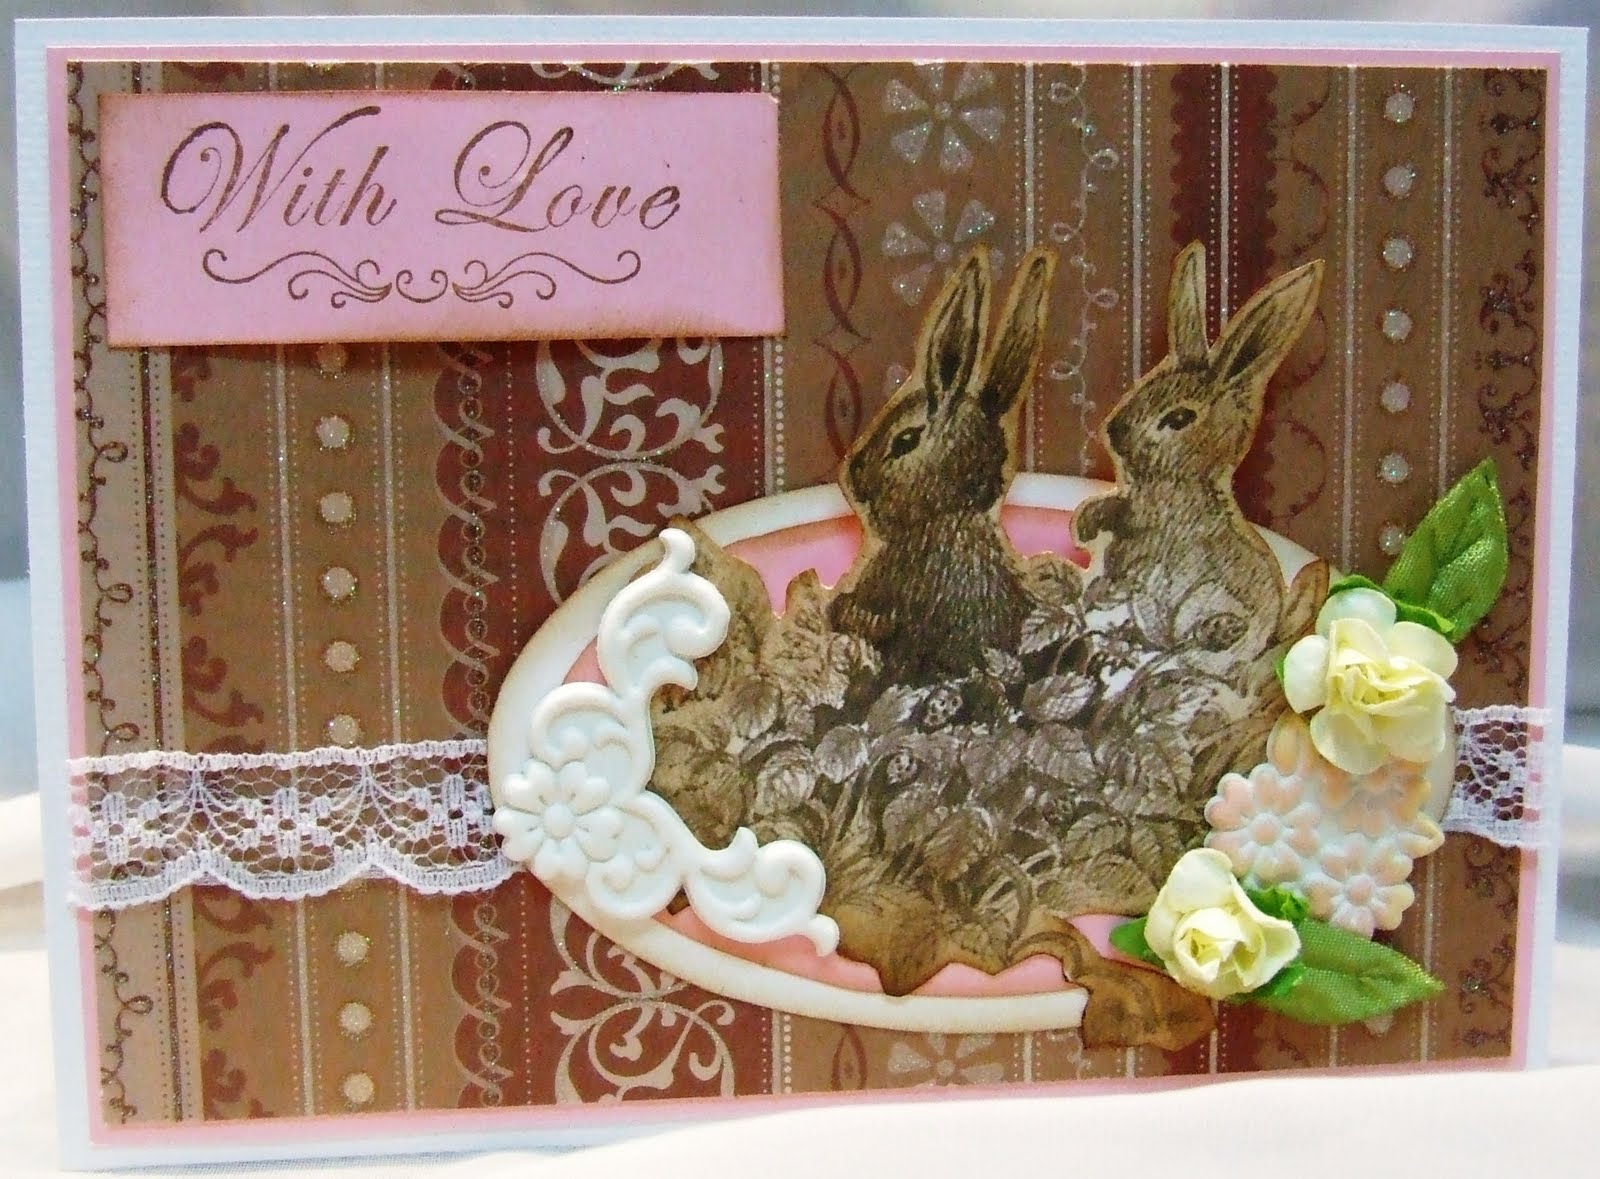
כל מה שנותר זה לקשט. אני בחרתי לקשט בעזרת 3 פרחים קטנים. ניתן להשתמש בפרחים גדולים יותר, כפתורים, פרפרים או ציפורים, כל מה שמתאים לכם לכרטיס.
All that's left is to embellish the card. I chose to use 3 little flowers. You can use larger flowers. buttons, butterflies or birds, anything that will match your card.
והנה התוצר הסופי שלי:
And here's my finished product:

מקווה שנהנתם.
Hope you enjoyed it.
2 תגובות:
יופי של כרטיסים! הדרכה נהדרת!
מצטערת שהעליתי שוב (5) רק כדי לתקן את הקישור ב-2 שלא הועלה כראוי.
הוסף רשומת תגובה