
הרשומה השבוע עולה קצת באיחור.
יום שלישי היה יום הזכרון ולא הרגיש לי נוח או במקום להעלות רשומה ביום הזכרון.
היום, לעומת זאת, יום העצמאות, וזה בדיוק הזמן לרשומה שמחה.
כדאי לקרא עד הסוף, כי יש לנו הפתעה קטנה...
 http://www.dpjcc.org/clientuploads/Adults/Israeli_Independence_Day/2012/Logo_Large_5iin.jpg


והמשתתפת הנוספת היתה:

תודה לשתיכן שהשתתפתן.


החומרים והכלים הדרושים:
2 קארדסטוקים לבנים חלקים פשוטים (אני השתמשתי בכאלו עבים במיוחד שקיבלתי פעם בתוך השמרדפים של אלבום שקניתי ב"ביג דיל")
צבע אקרילי לבחירתכן (במקרה שלי navy blue של – לא הצבעים האקריליים הכי מומלצים...)
דיו לבן או צבע אקרילי לבן
סרט בד לבן
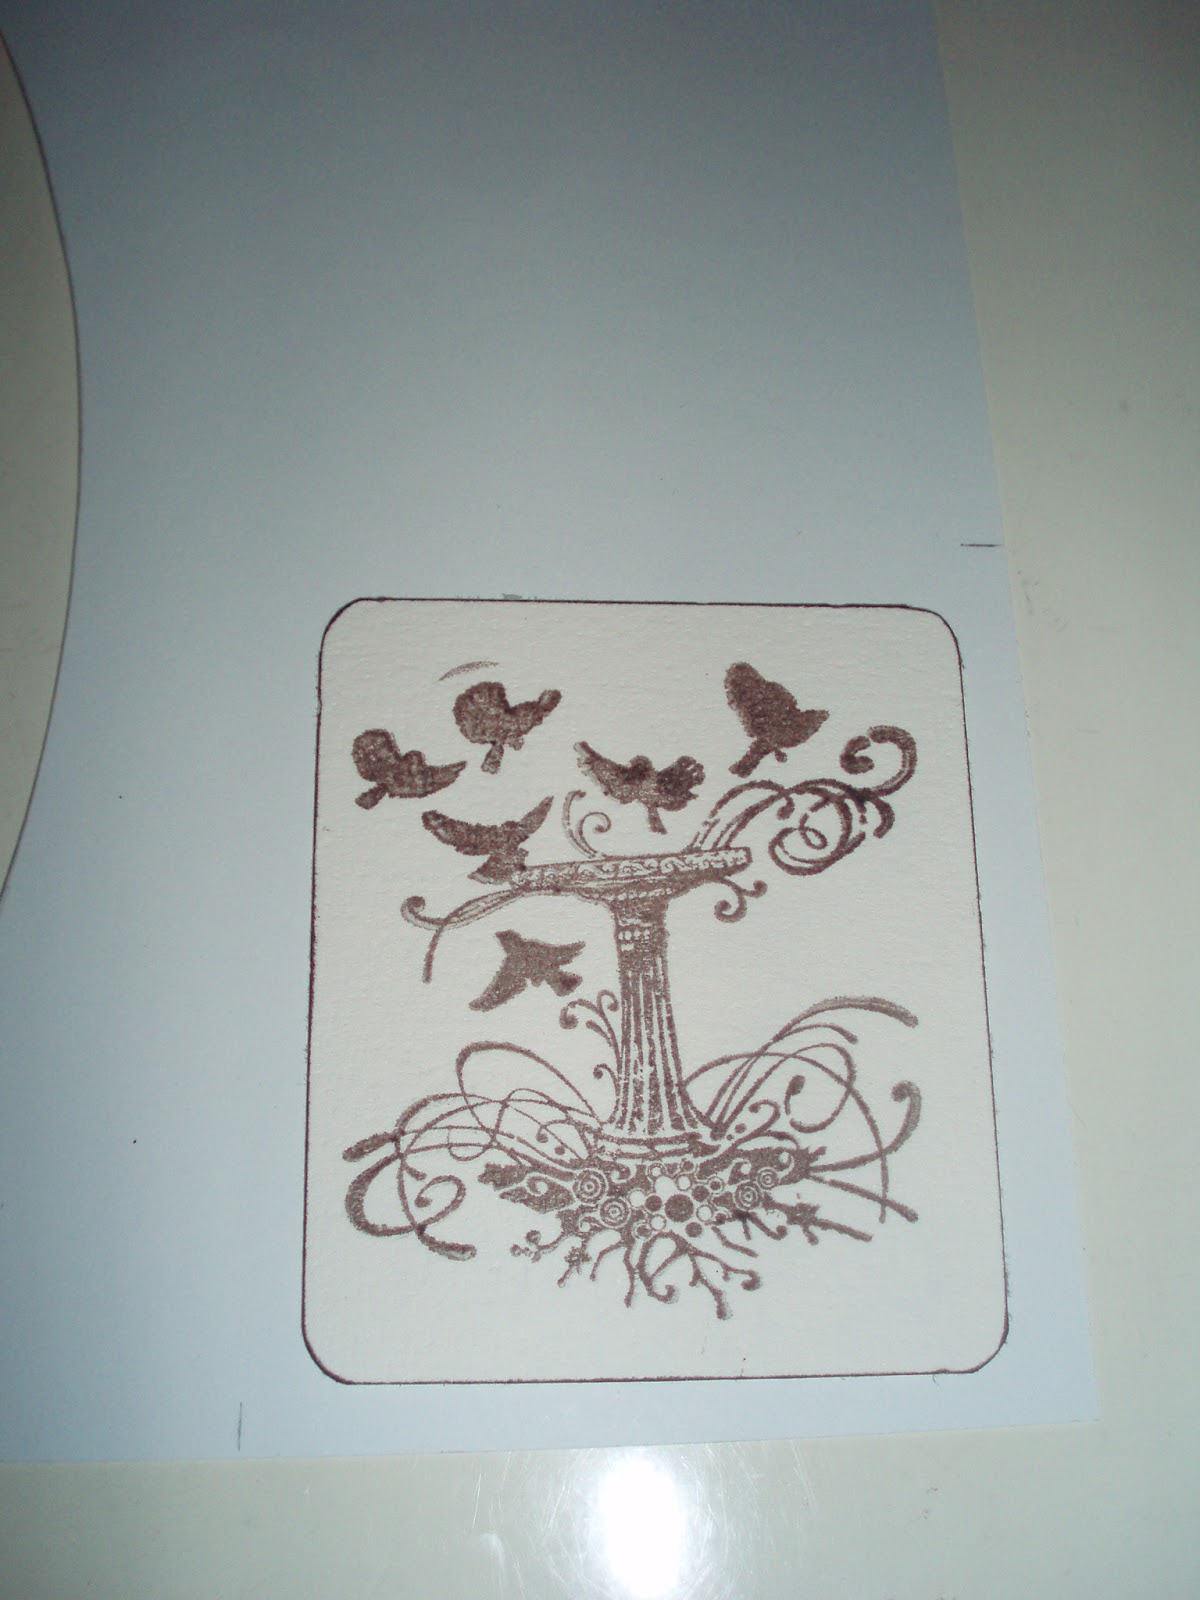
חותמת רקע נקודות
מכחול עבה
ספוגית איפור
פאנצ' מעגל פינות
בלוק אקרילי
עט ג'ל לבן
כלים בסיסיים: סרגל, סכין יפני, מספריים, דבק ג'ל/נוזלי
וכמובן- תמונה בגוונים מתאימים לצבע האקרילי (עדיף לבחור את הצבע לפי התמונה ולא ההפך...)

ניקח את אחד הקארדסטוקים הלבנים. באמצעות המכחול נצבע 2/3 ממנו בצבע האקרילי- להשתמש במעט צבע! ונמתין לייבוש:
אם הדף מקבל קצת גלים או בטן, נניח מתחת למשהו כבד לכמה שעות...

באמצעות כרית הדיו הלבן נעבור בתנועות מעגליות וחלשות על החלק הצבוע, לקבלת מראה מחוספס יותר. אם משתמשים בצבע לבן- אותה פעולה עם מכחול יבש טבול במעט מאוד צבע:

נחתוך רצועת קארדסטוק צבוע שיהיה רחב יותר מהתמונה שלנו ב-2-3 ס"מ. עכשיו נשתמש בשארית הקארדסטוק הלבן להכנת מאטינג לתמונה- נדביק את התמונה לקארדסטוק ונחתוך לה מסגרת דקה דקה.

אם חסכתן בנייר נשארה עוד שארית- ממנה נכין את הבורדר- נשפוך מעט צבע אקרילי על ניילון/נייר, ניקח קצת צבע באמצעות ספוגית האיפור ונמרח על החותמת בתנועות טפיחה עדינות- נחתים לאורך הדף. נחזור על הפעולה כמה פעמים, עד שיווצר פס מוחתם ארוך על הדף. נחתוך אותו.

נפרק לפאנצ' מעגל הפינות את השוליים (כמו בתמונה) וניצור בעזרתו שוליים בצורת "סקאלופ"- פשוט מתחילים מהקצה-מחוררים ואז מצמידים בכל פעם לקצה החירור הקודם.

נעבור על השוליים שנוצרו בעדינות עם כרית האיפור שספוגה במעט צבע.

נחזור על אותה פעולה גם עם השוליים של הקארדסטוק השני, בו עדיין לא נגענו.

נסדר את השכבות לפי הסדר - לא להדביק עדיין, רק להניח:
קארדסטוק לבן שלם, בצד אחד בורדר, מעליו המלבן הצבוע ומעליו, בחלק התחתון- התמונה עם המאטינג. אחרי שמרוצים מסידור השכבות על הדף מוסיפים סרטים- חותכים שתי רצועות ארוכות קצת יותר מהמלבן הצבוע, ומדביקים את הקצוות העודפים מאחורה.כאן רואים שהתלבטתי אם להוסיף עוד אלמנט, אבל החלטתי לוותר עליו. כשמרוצים מהעיצוב מדביקים את כל השכבות.

מכינים כותרת- מהשאריות של שאריות הדף הצבוע חותכים פס צבוע ברוחב 1 ס"מ. באמצעות מספריים גוזרים את הרצועה לריבועים-ריבועים, בגודל 1*1 ס"מ. בעט ג'ל לבן כותבים על כל ריבוע אות מתוך הכותרת- ומדביקים במקום הרצוי בדף.

וזהו- הדף שלנו מוכן!
תהנו.
יום שלישי היה יום הזכרון ולא הרגיש לי נוח או במקום להעלות רשומה ביום הזכרון.
היום, לעומת זאת, יום העצמאות, וזה בדיוק הזמן לרשומה שמחה.
כדאי לקרא עד הסוף, כי יש לנו הפתעה קטנה...
This week the post is a little late.
Tuesday was our memorial day and it just didn't feel right for me to upload a post on memorial day.
Today, however, is our 64th Indpendence Day, which is a perfect time for a happy post.
Better read to the end, cause we have a little surprise today...


המנצחת שלנו בסקיצה 114 היא (וההחלטה היתה מאד קשה):
Our wnner for sketch 114 is (and it was a difficult decision):

שלשירר - Shellsearer
והמשתתפת הנוספת היתה:
And the other participant was:

קרן - Keren
תודה לשתיכן שהשתתפתן.
Thank you both for participaing.
הנה הסקיצה החדשה שלנו, סקיצה 116:
Her's our new sketch, No. 116:

האתגר הנילווה לסקיצה הוא: כחול ולבן.
The challenge for this sketch is: Blue & White.
והנה עבודות הצוות:
And here's what the team created:

אמנדה - Amanda

קרין די - Karin Di

שיר - Shir

ציקוש - Tzikush

זהבית - Zehavit

דיילי - Dailly
והנה ההפתעה שלנו -
קרין די הכינה סדנה מצולמת מהדף שהיא יצרה:
And here's our surprise -
Karin Di prepare a tutorial for the page she created:
סדנה מצולמת - Tutorial
הוכן ע"י קרין די - by Karin Di
2 קארדסטוקים לבנים חלקים פשוטים (אני השתמשתי בכאלו עבים במיוחד שקיבלתי פעם בתוך השמרדפים של אלבום שקניתי ב"ביג דיל")
צבע אקרילי לבחירתכן (במקרה שלי navy blue של – לא הצבעים האקריליים הכי מומלצים...)
דיו לבן או צבע אקרילי לבן
סרט בד לבן
חותמת רקע נקודות
מכחול עבה
ספוגית איפור
פאנצ' מעגל פינות
בלוק אקרילי
עט ג'ל לבן
כלים בסיסיים: סרגל, סכין יפני, מספריים, דבק ג'ל/נוזלי
וכמובן- תמונה בגוונים מתאימים לצבע האקרילי (עדיף לבחור את הצבע לפי התמונה ולא ההפך...)
Tools & Materials needed:
2 simple white cardstock (I ued the ones I got from an album I once bought at “Big Deal”)
Your choice of Acrylic paint (in my case – navy blue)
White ink or white acrylic paint
White ribbon
Dot stamp
A thick brush
Makeup sponge
Corner rounder punch
An acrylic block
A white gel pen
Basic tools: ruler, knife, scissors, glue
And of course – your choice of a photo (it is preferable to choose your acrylic paint to match the photo)

ניקח את אחד הקארדסטוקים הלבנים. באמצעות המכחול נצבע 2/3 ממנו בצבע האקרילי- להשתמש במעט צבע! ונמתין לייבוש:
אם הדף מקבל קצת גלים או בטן, נניח מתחת למשהו כבד לכמה שעות...
We take one of the cardstock, and using the brush we paint 2/3 of it with the acrylic paint. Remember to use as little paint as possible, and let it dry fully.
If the paper get a bit wavey, put something heavy on top of it for a few hours…

באמצעות כרית הדיו הלבן נעבור בתנועות מעגליות וחלשות על החלק הצבוע, לקבלת מראה מחוספס יותר. אם משתמשים בצבע לבן- אותה פעולה עם מכחול יבש טבול במעט מאוד צבע:
We’ll touch the white ink pad in circular motion to the painted pafe, to get a rougher look. If you use an acrylic paint – use a drybrush with very little paint on it.

נחתוך רצועת קארדסטוק צבוע שיהיה רחב יותר מהתמונה שלנו ב-2-3 ס"מ. עכשיו נשתמש בשארית הקארדסטוק הלבן להכנת מאטינג לתמונה- נדביק את התמונה לקארדסטוק ונחתוך לה מסגרת דקה דקה.
Cut a painted strip of paper to be about 2-3 cm wider than our photo. Use the rest of the white cardstock to create matting for our photo – glue the photo to the cardstock a cut a very slim frame around it.

אם חסכתן בנייר נשארה עוד שארית- ממנה נכין את הבורדר- נשפוך מעט צבע אקרילי על ניילון/נייר, ניקח קצת צבע באמצעות ספוגית האיפור ונמרח על החותמת בתנועות טפיחה עדינות- נחתים לאורך הדף. נחזור על הפעולה כמה פעמים, עד שיווצר פס מוחתם ארוך על הדף. נחתוך אותו.
If you used your cardstock sparsely than you still have some of it left. Use it to make the border. Pour a little acrylic paint on a paper or piece of nylon. Use your sponge and tap some paint gently on the stamp and stamp along the paper. Do this until all your paper is stamped, and than cut the strip.

נפרק לפאנצ' מעגל הפינות את השוליים (כמו בתמונה) וניצור בעזרתו שוליים בצורת "סקאלופ"- פשוט מתחילים מהקצה-מחוררים ואז מצמידים בכל פעם לקצה החירור הקודם.
Take out the edges of the punch (like in the photo) and use it to create a scalloped edge – simply start at one end, punch and than continue from there.

נעבור על השוליים שנוצרו בעדינות עם כרית האיפור שספוגה במעט צבע.
Color the edges gently with pain using the sponge and very little paint.

נחזור על אותה פעולה גם עם השוליים של הקארדסטוק השני, בו עדיין לא נגענו.
Create the same colored edge to the other white cardstock, the one we haven’t used so far.

נסדר את השכבות לפי הסדר - לא להדביק עדיין, רק להניח:
קארדסטוק לבן שלם, בצד אחד בורדר, מעליו המלבן הצבוע ומעליו, בחלק התחתון- התמונה עם המאטינג. אחרי שמרוצים מסידור השכבות על הדף מוסיפים סרטים- חותכים שתי רצועות ארוכות קצת יותר מהמלבן הצבוע, ומדביקים את הקצוות העודפים מאחורה.כאן רואים שהתלבטתי אם להוסיף עוד אלמנט, אבל החלטתי לוותר עליו. כשמרוצים מהעיצוב מדביקים את כל השכבות.
Layer your items – don’t glue them yet.
First the white cardstock. In the middle put the colored paper. To the left of it and below it the border we made, and on the colored paper, towards the bottom put the matted photo. When you’re happy with the layering add ribbons – cut two strings of ribbon a little longer than our painted paper and glue them to the back of the painted paper. In the photo you can see that I was thinking about adding another element, but I changed my mind.
When you're happy with the design, glue all the layers together.

מכינים כותרת- מהשאריות של שאריות הדף הצבוע חותכים פס צבוע ברוחב 1 ס"מ. באמצעות מספריים גוזרים את הרצועה לריבועים-ריבועים, בגודל 1*1 ס"מ. בעט ג'ל לבן כותבים על כל ריבוע אות מתוך הכותרת- ומדביקים במקום הרצוי בדף.
Making the sentiment – using the left over of the painted paper cut a strip 1 cm wide. Using your scissors cut little rectangles 1 cm by 1 cm – as many as you need for your sentiment. Use the white gel pen to write a letter on each rectangle and create your sentiment. Glue those to your page.

וזהו- הדף שלנו מוכן!
And that’s our page – all ready.
תהנו.
Enjoy.


